With the growing potential of the Hyperliquid ecosystem, many participants are accumulating HYPE for its long-term value. Beyond price appreciation, staking HYPE currently offers an additional ~2.2% annual yield, making it a simple way to keep your assets working while you hold. This guide provides a straightforward workflow for depositing USDC, purchasing HYPE, and completing the staking process.
1. Deposit: Bridging to Hyperliquid
Hyperliquid utilizes Arbitrum One for its primary liquidity gateway.
- Requirement: You must have USDC and a small amount of ETH (for gas) on the Arbitrum One network in your wallet (e.g., OKX or MetaMask).
- Action:
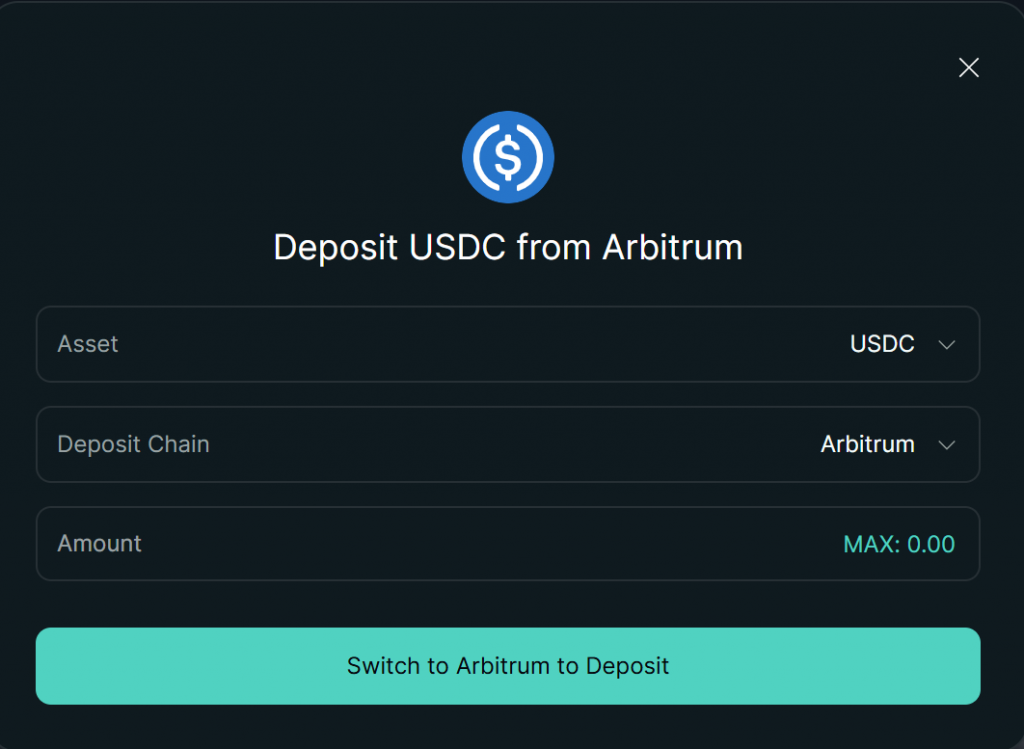
- Open the Deposit window on Hyperliquid.
- Select USDC and ensure the source network is Arbitrum.
- Once confirmed, your funds will be available in your Hyperliquid L1 balance.
2. Purchase: Buying HYPE on Spot
After your USDC arrives, you need to acquire HYPE.
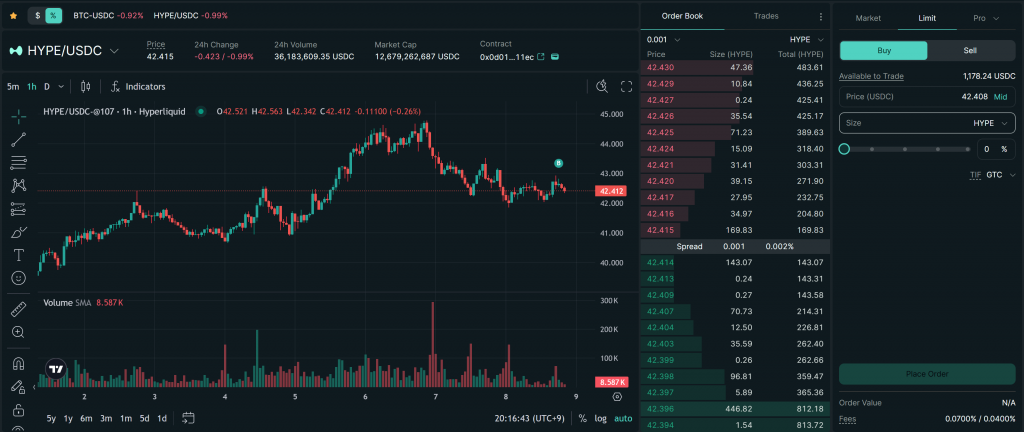
- Action: Navigate to the Trade section and select the Spot HYPE/USDC pair.
- Execution: You can use a Limit Order for a specific entry price or a Market Order for immediate execution if you are betting on a quick price uptrend.
3. Staking: Securing the Network
This is the final step to put your HYPE to work.
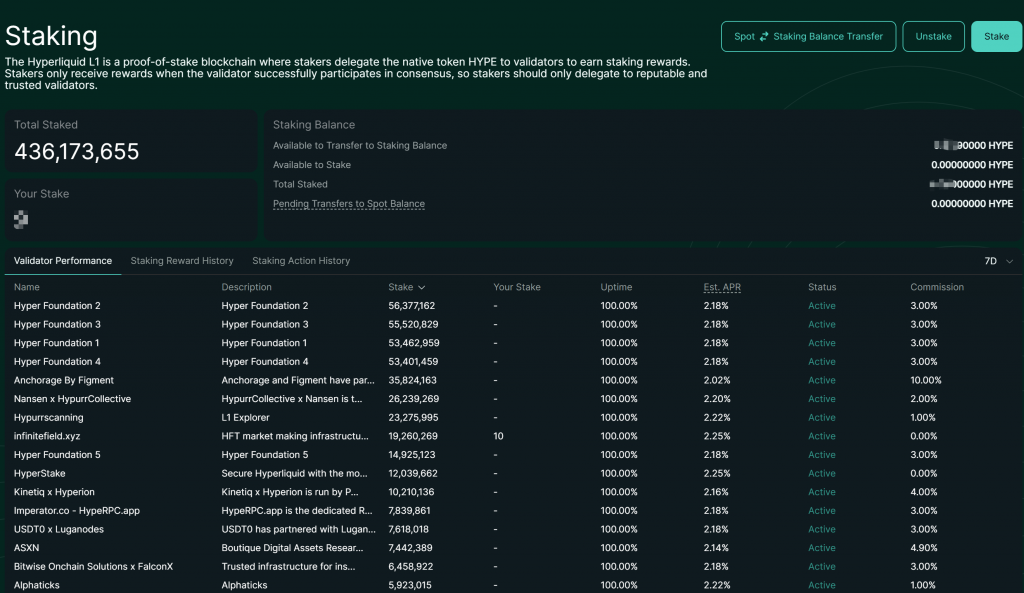
- The Key Step: Go to the Staking tab. You will notice your “Available” balance is 0. Click the Transfer button (Spot ↔ Staking Balance Transfer) to move your HYPE into the staking account.
- Choosing a Validator:
- Click Stake to view the validator list.
- Recommendation: Sort by Total Stake to find reliable nodes. Prioritize validators with Lower Commissions and high credibility to maximize your staking yield.
- Confirmation: Submit the stake. Your HYPE is now officially staked.
One small tip before you start — head to the Referrals page and enter code CLOUDZHY to enjoy reduced fees on every trade: https://app.hyperliquid.xyz/join/CLOUDZHY